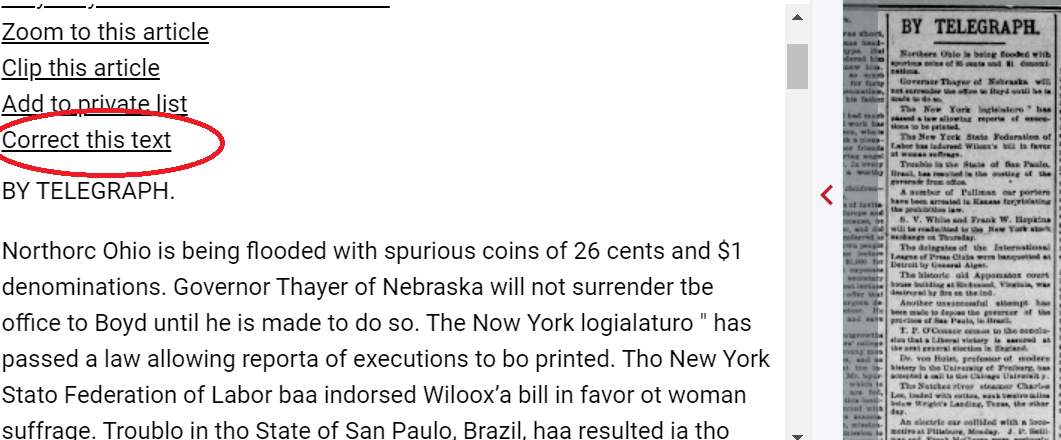
The text correction interface is accessed by clicking the “Correct this text” link when viewing section text. This interface is split into two parts: the right side shows the page images that make up the document, and the left side is used for editing the lines of text.
When you move your mouse over the page images in the right pane, the blocks making up the pages will highlight. You can scroll this view by dragging with the mouse, or zoom in/out using the buttons above the viewer. Clicking a highlighted block will select it and load a form for editing that block into the left pane.
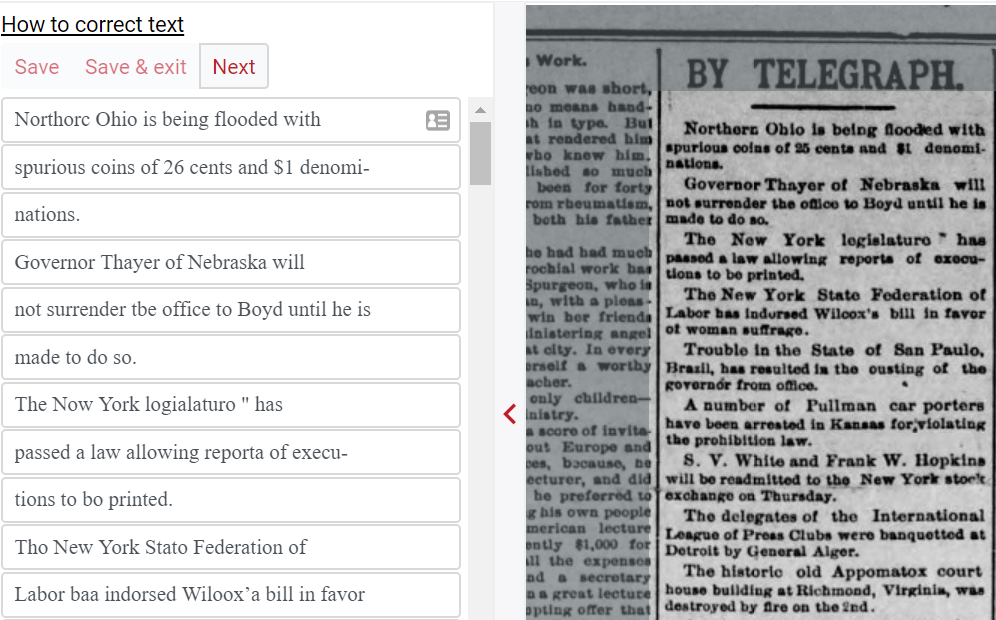
Correct the text line by line. A red box is displayed in the right pane to help you determine what text should be included in the line. Once you have finished correcting text, click “Save”. The changes you make will take effect immediately. Alternatively, clicking the “Cancel” button will discard any unsaved changes you have made.
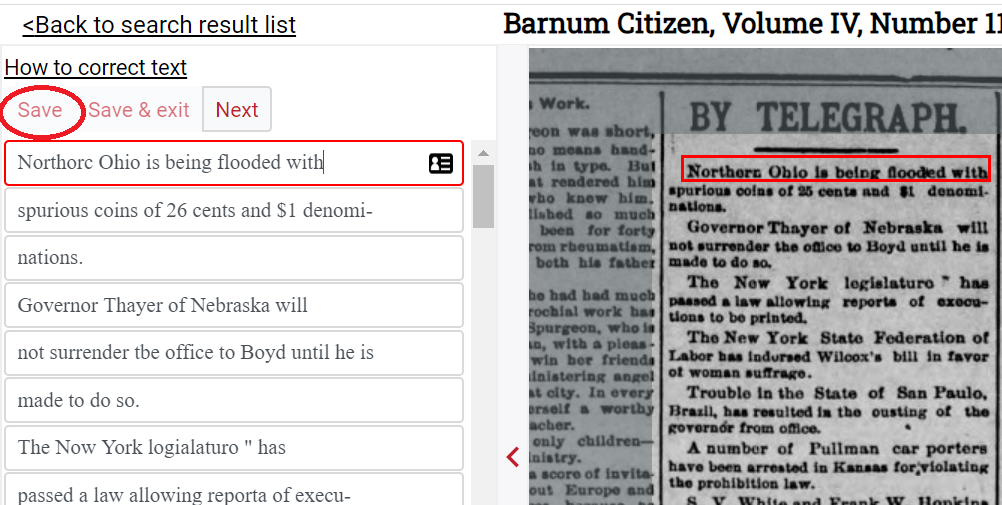
If you correct the entire block of text you can check the “This block is completely correct” box so others know it has been done. You can then move onto the next block by clicking the “Next” button, select another block in the right pane, or exit the text correction view by clicking the “Return to viewing mode” link. Clicking “Save & exit” instead of “Save” will save the changes and then return you to the normal viewing mode automatically.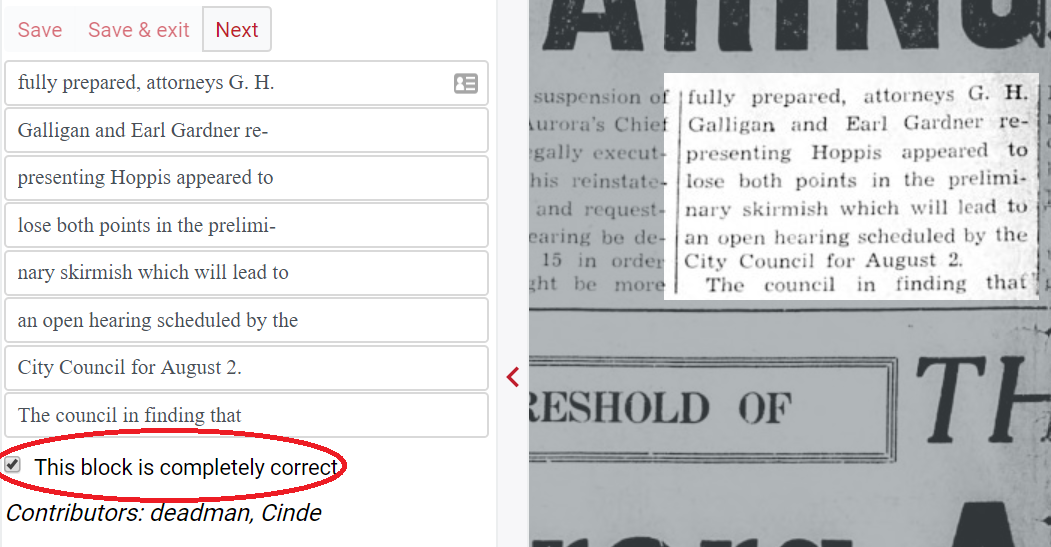
Hint: Many web browsers include spell checking functionality and this can assist with your text correction by identifying misspelt words. If your web browser does not have this functionality, it’s likely there is a spell checking add-on available (see your web browser’s help for information on how to install add-ons).